Piqosity's Share Drive allows educators to more easily share content with their students. Shareable content includes links, documents, pictures, and videos. Once an item is uploaded to the Share Drive, students can access and download the item directly from Piqosity.
The Shared Drive can be used on the course, class, or student level.
Steps to Uploading an Item to the Share Drive
Step 1 - From the Course or Class Dashboard click on the "Drive" tab
While you can customize who receives your item from the "Add Item" screen (detailed below), you must make sure that you're within the course that you'd like to share with. In other words, you can't access the ACT course's share drive and post an item to the SAT's share drive.
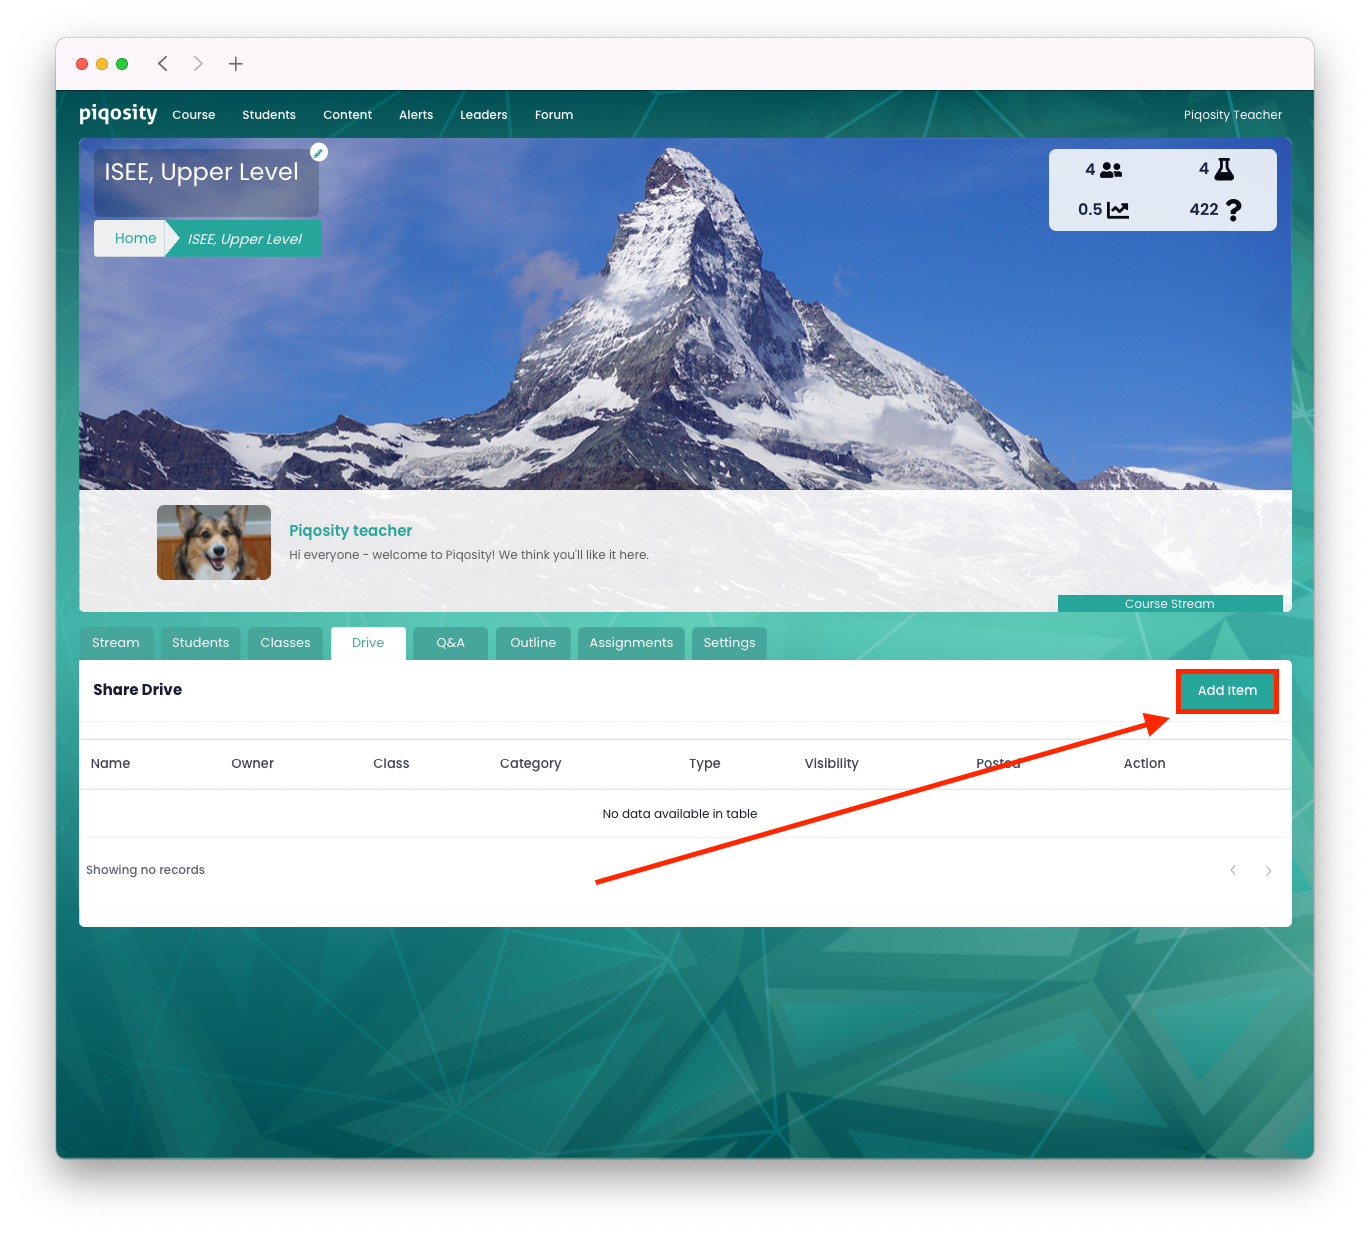
Step 2 - Select the green "Add Item" button
This page will show you all of the items in the Class/Course Share Drive that you're viewing. If you haven't uploaded anything yet, then you'll see a message saying "No data available in table".
To upload a new item select the green "Add Item" button.
Step 3 - Fill out the options in the "Add Item" modal
After clicking "Add Item" you'll see the Share Drive modal come up. Fill out each field in the modal in order to submit your item to the drive:
- Name - Give the item a name.
- Type - Clicking on "File" allows you to toggle between "File" or "Link". Select the appropriate category for your submission.
- Clicking this field pulls up a dropdown including Course, Class, and Student.
- Course will add the item to the share drive for the course you're currently in.
- Class will give you the option of adding the item to a specific class within the course that you're currently in.
- Student will allow you to add the item to the share drive of a particular student within the course you're currently in.
- Note: If you're accessing the share drive from the Class Dashboard (instead of the Course Dashboard), then selecting "Class" will add the item to the current class's share drive only.
- Use this field to specify the class or student that you'd like to share with. Note: this field will disappear if you selected "Course" in field 3 because no further specification is required.
- Category allows you to create and add tags to this item for further organization. Tags are searchable, and labels that you've previously used will show up when you click on this field.
- Enter a description of what you're uploading. The text editor will even allow you insert chemical or mathematical formulas.
- Sticky the item if you'd like it to remain at the top of the Share Drive even as other items are uploaded.

Now that you've uploaded an item to the Share Drive, students within your specified criteria will be able to download it directly from their Piqosity Dashboards:
